

Decorate your home this holiday season with a wood slice snowman ornament.
This cute little wood slice snowman is super easy to make and rather cheap! If you’re short on money and looking for something meaningful to give to your family or friends, try making this wood slice snowman. Last year, I made one for my boyfriend’s parents and they loved it, so I thought I’d share how you can create your own.
* You can paint or wood burn, it’s your choice *
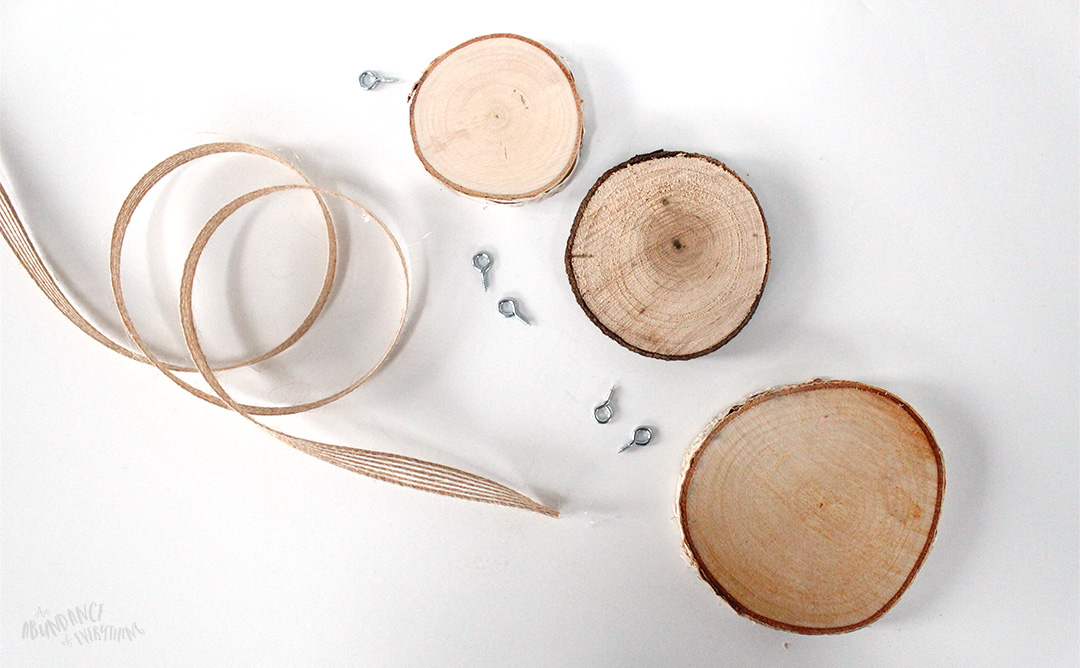
What You Will Need:
3 Wood Slices Varying in Sizes, Large, Medium & Small (I cut mine from firewood I had lying around)
5 Screw Eyelets (small in size) per snowman (I got mine from Walmart – $5 for 20 eyelets, this is enough for 4 snowmen)
Christmas Ribbon (I chose a small width burlap ribbon from Michael’s – $2.50, this is more than enough!)
*Wood Burning Kit – If you choose to wood burn (approx. $40 at Michaels if you don’t use a coupon. I got mine 50% off!)
*Black paint – If you choose to paint instead of wood burning
Two Twigs (every snowman needs arms)
Pencil
Pliers
Hot Glue
Drill
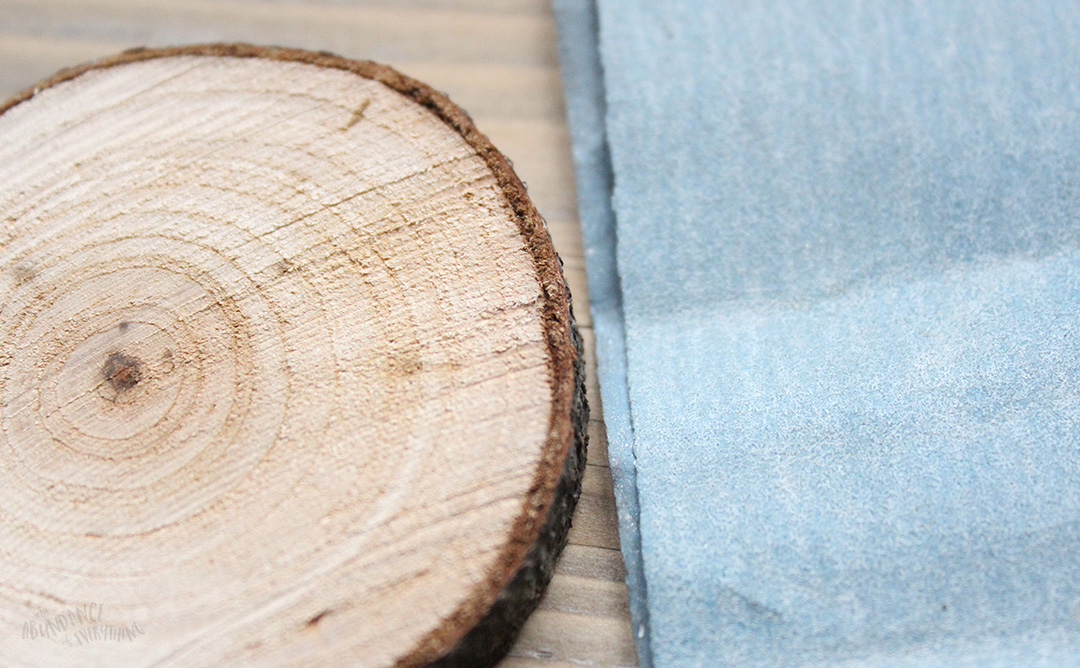
Step 1 – Sand Your Wood Slices
This step is important. The smoother the wood, the easier it will be to wood burn or paint. Grooves and dents add character, but they can be difficult to wood burn or paint over. If you used a chop saw to cut your wood slices like I did, you might be able to skip this step as it cuts the wood pretty smoothly.
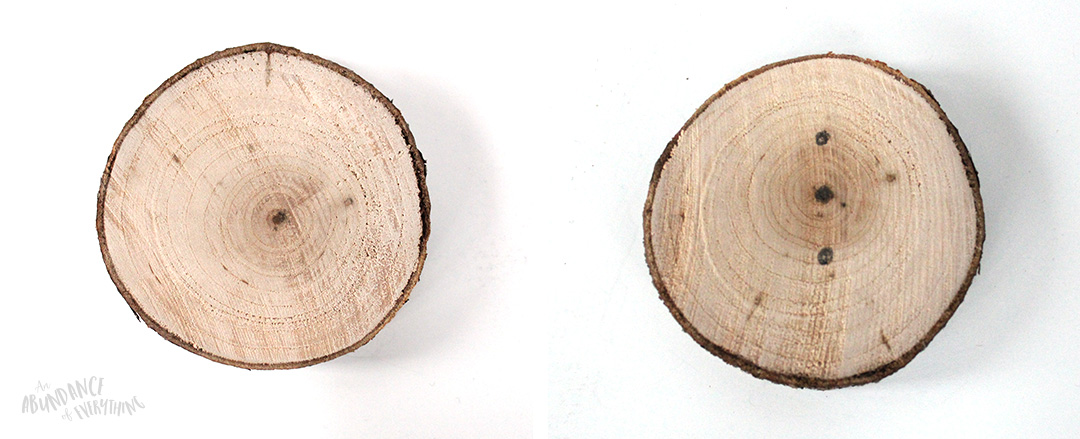
Step 2 – Draw The Snowman’s Face Onto The Smallest Wood Slice With A Pencil
On the smallest of the 3 wood slices, draw your snowman’s face (two eyes, a pointy nose and a smile). It can be hard to erase on wood so try not to put a lot of pressure on your pencil when you draw the face.

Step 3 – Draw The Snowman’s Buttons Onto The Medium Wood Slice With A Pencil
On the medium sized wood slice, draw with pencil your snowman’s buttons.
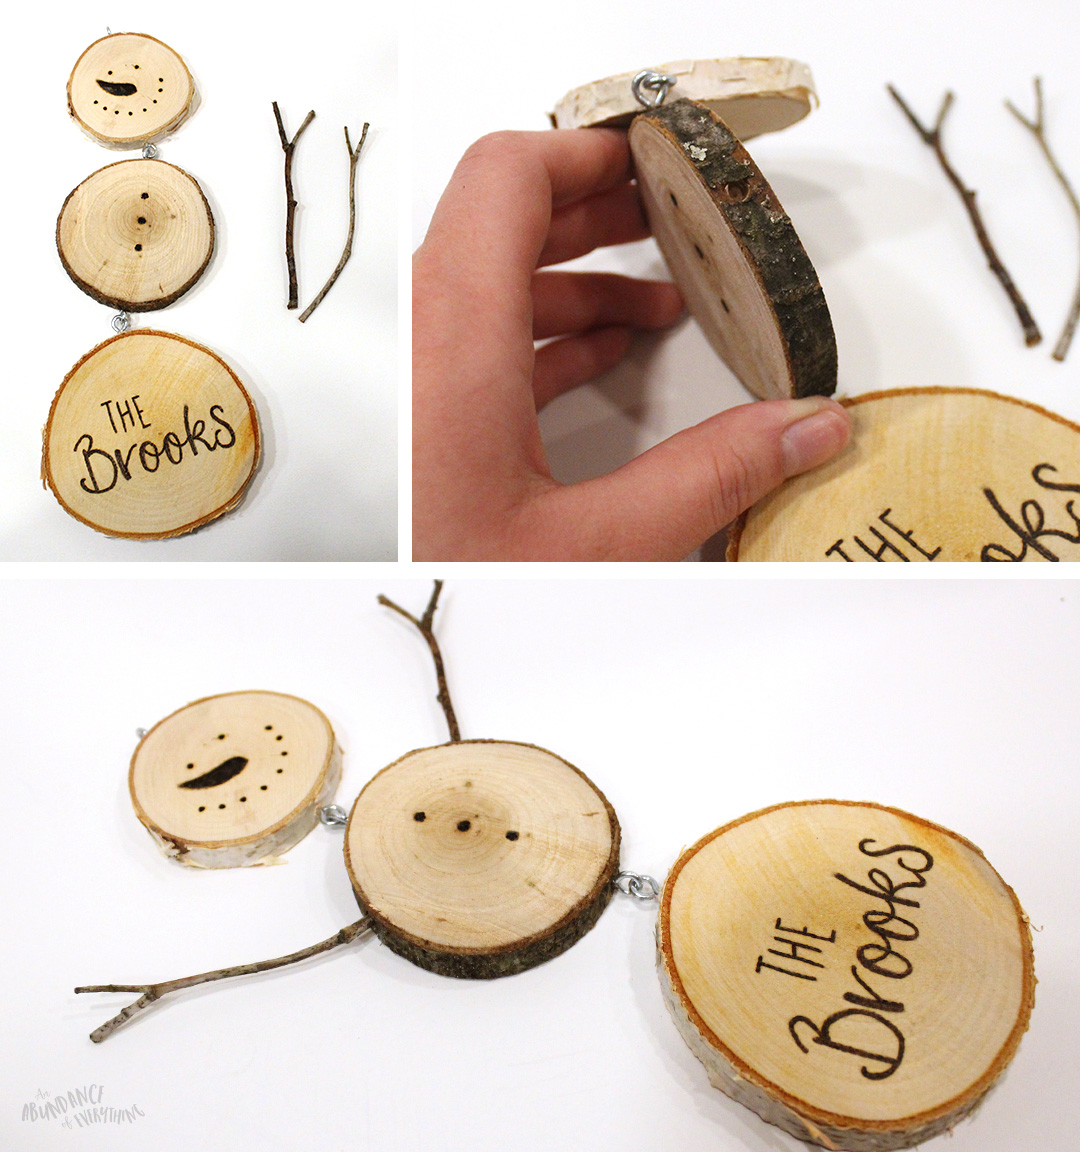
Step 4 – Optional: Write A Small Holiday Phrase Or Family Name On The Large Wood Slice
This step is optional, you’re snowman will be just as cute if you choose not to do this step. Write a cute holiday message or family name on the large wood slice with pencil (example – The Brooks, Merry Christmas or Happy Holidays).


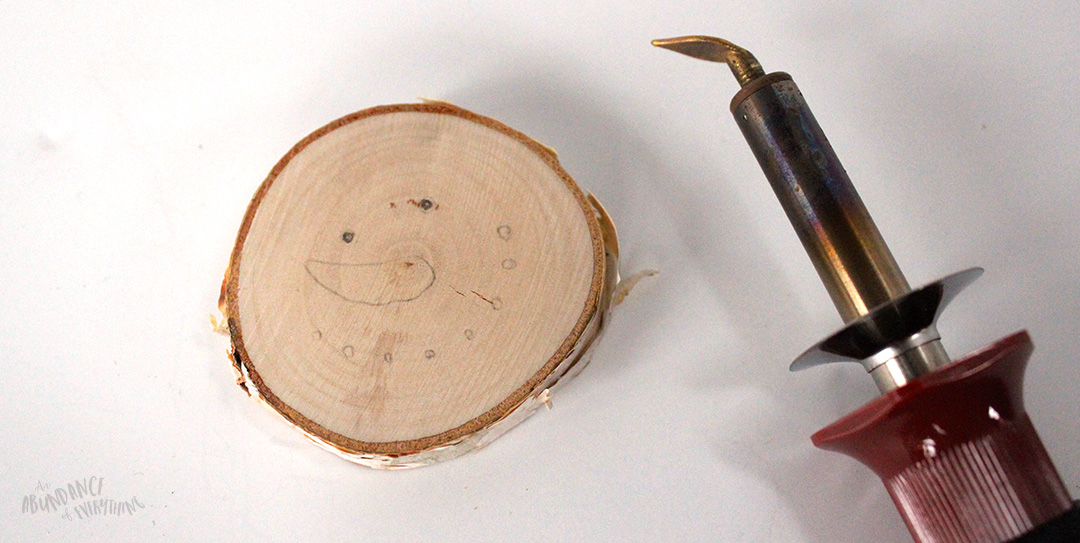
Step 5 – Wood Burn Or Paint The Snowman’s Face
I chose to wood burn, but you can paint if you prefer (painting would be cheaper if you don’t have access to a wood burning tool). Paint or wood burn over the pencil drawing you just created. If wood burning, be careful not to over burn! If you over burn, the edges of his smile, nose and eyes will be frayed.
Step 6 – Wood Burn Or Paint The Snowman’s Buttons
Wood burn or paint over the pencil drawn buttons.
Step 7 – Optional: Wood Burn Or Paint Your Holiday Message or Family Name
If you choose to do step 6, wood burn or paint over your pencilled holiday message or family name.

Step 8 – Fasten Your Snowman Together Using Screw Eyelets
Take one eyelet and screw it into the top on your snowman’s head (poor guy). This is the eyelet the snowman will hang from. Take another eyelet and screw it into the bottom of the head. Do the same thing to the medium wood slice. Your small wood slice and medium wood slice should have one eyelet screwed into the top and one eyelet screwed into the bottom.

Now we are going to hook these two together. Using pliers, separate the bottom eyelet on the small wood slice enough that the top eyelet on the medium slice can hook onto it. Hook the small and medium wood slice together. Close the small wood slice eyelet using pliers. Now you should have your head and body attached together.
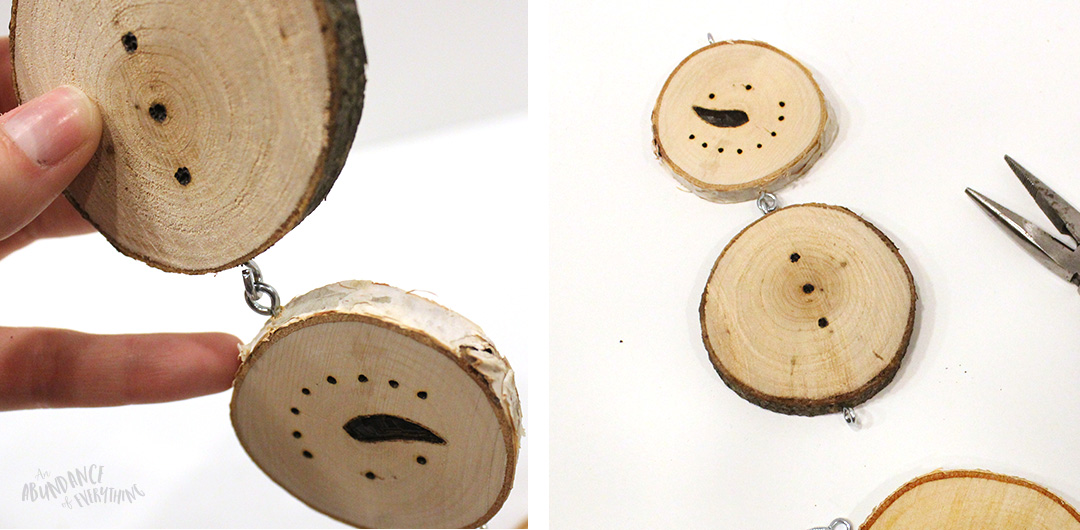
Take your last eyelet and screw it into the top of the large wood slice. Using pliers, open the bottom eyelet on the medium wood slice (just like we did on the small wood slice). Hook the top of the large wood slice eyelet onto the bottom of the medium wood slice eyelet. Close the medium wood slice eyelet using pliers.
Your snowman should now be fully assembled.
Step 9 – Add Your Snowman’s Arms
Using a drill, drill small holes into the sides of the medium wood slice. You should have two holes, one for each arm. Hot glue the snowman’s arms (twigs) into the holes you just drilled.
Step 10 – Last Step: Add A Ribbon Loop To Hang Your Snowman
String ribbon through the top eyelet on your snowman’s head and tie together. Your snowman should now be ready to hang. Display this cute little guy on a Christmas tree, hook or door.

Approximate Total Project Cost For One Snowman – $1.50 Per Snowman*
* If you already have paint or wood burning kit and have access to free wood.


3 Comments
i HAVE A VERY TALENTED GRANDDAUGHTER. i NEED TO HIRE HER.
What a clever idea! Love it!!
Thanks Renee! Super easy to create. You should try it!