I love carving pumpkins, but I hate the fact that they only last for a couple of weeks. When I carve a pumpkin, I want it to last forever! This is why foam pumpkins are amazing!
Foam pumpkins aren’t too difficult to carve; they just require a lot of patience. Follow these simple steps to carve your own foam pumpkin.
What you will need:
Foam pumpkin (Medium-Large)
Hot Knife (Michael’s Craft Store, Wood burning aisle)
Tracing paper (Curry’s)
Pencil and or Pen
Design Stencil
Flameless Candle
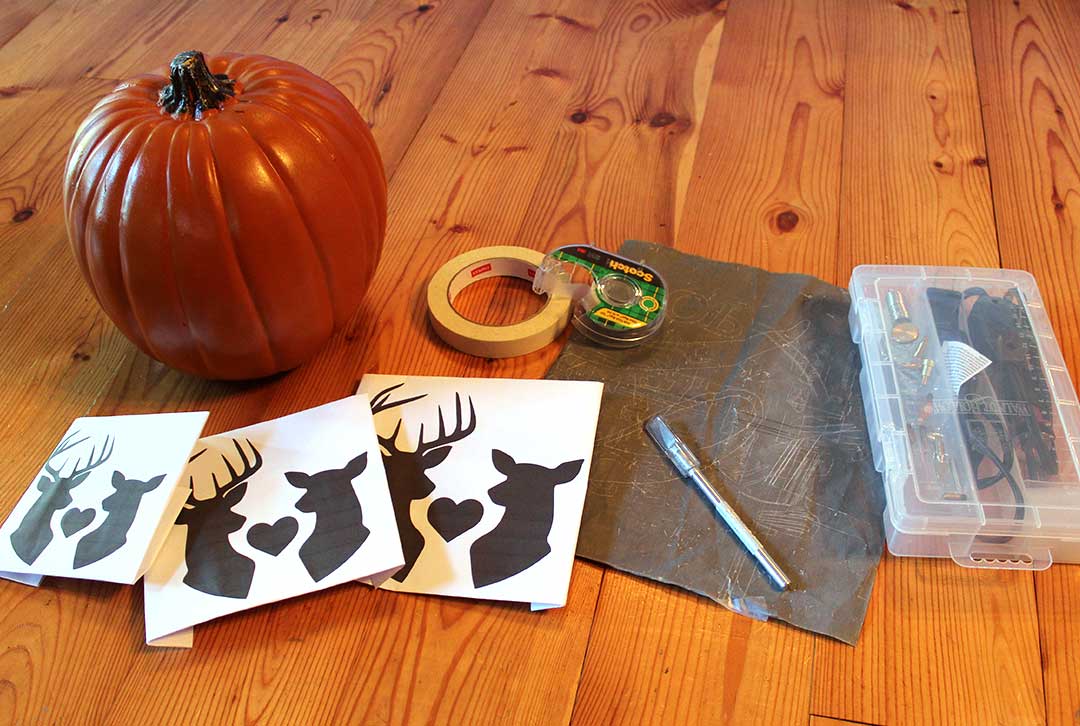
Step 1 – Select your Design
There are a lot of cute ways to come up with designs for your foam pumpkin.
You could get your child to draw their idea of a pumpkin face on a piece of paper, and then duplicate that onto the pumpkin. You could stencil your house number or find an image from the Internet to use as a template. I chose to replicate the first pumpkin Brent and I ever carved so I could keep it. Once you’ve chosen your design, print it out and hold it up to your pumpkin to make sure it is the perfect size.
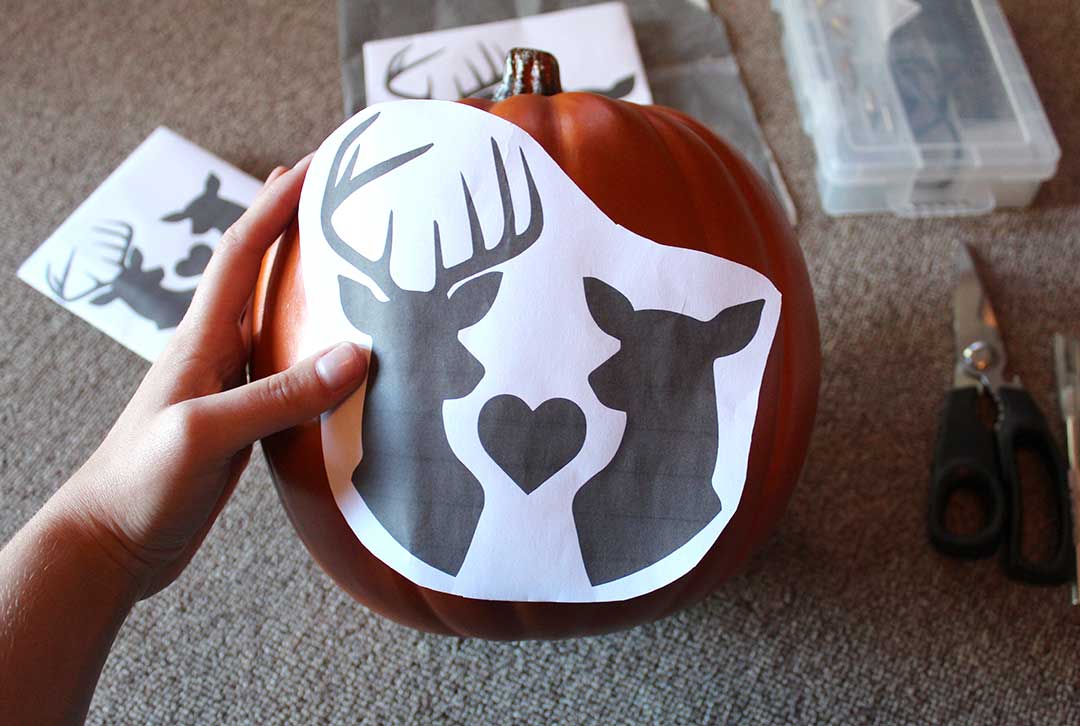
Step 2 – Trace your Design onto the Foam Pumpkin
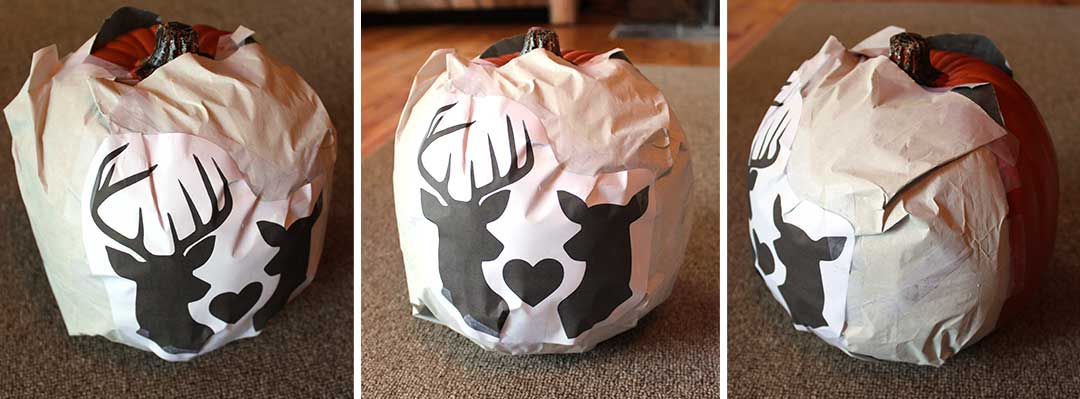
Wrap tracing paper around your pumpkin with your design taped on top. Using a pencil or pen, trace along the outside edges of your design. The harder you apply pressure to the pencil, the darker the lines on your pumpkin will be. You might have to pencil overtop of the traced image if it’s not dark enough.

Step 3 – Carve your Foam Pumpkin
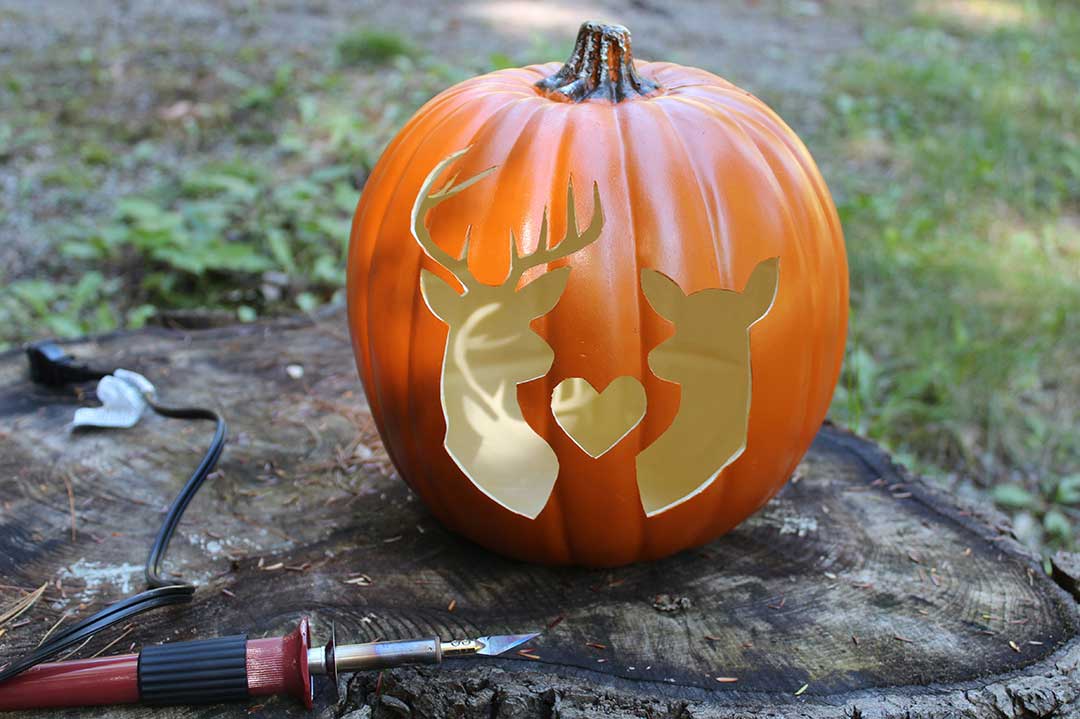
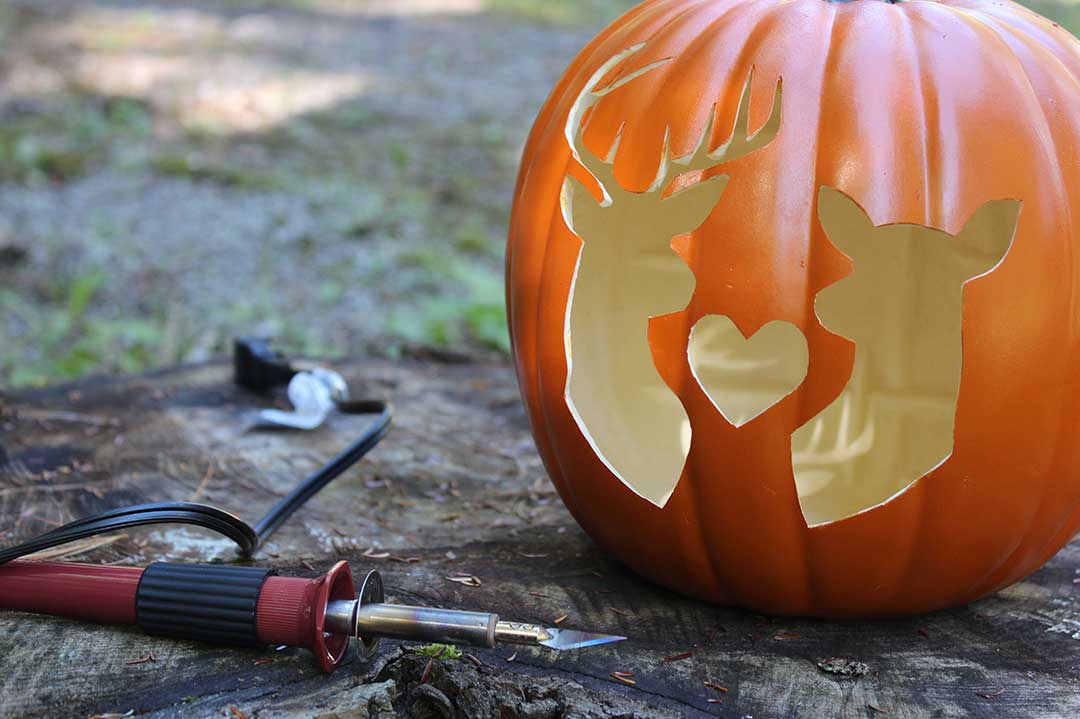
I started carving my foam pumpkin with a normal exacto knife but found it very difficult. I didn’t think foam would be that challenging to carve into, but it is! Using a hot knife was much easier! It was still a little tedious at times (especially those antlers), but it made carving the foam pumpkin much smoother. Just make sure not to use the hot knife on the highest temperature; it’s only foam and does melt easily.
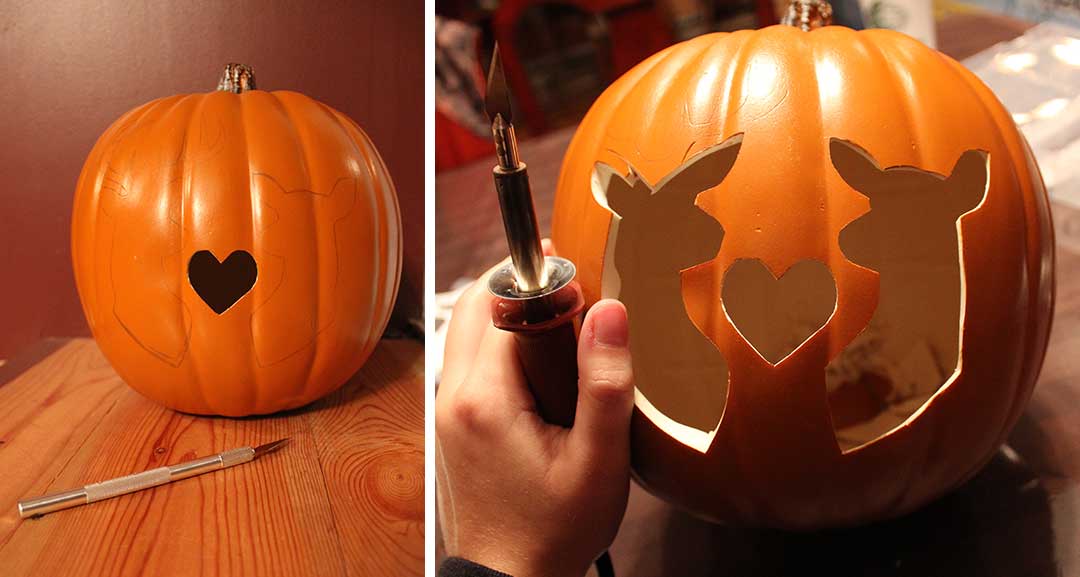
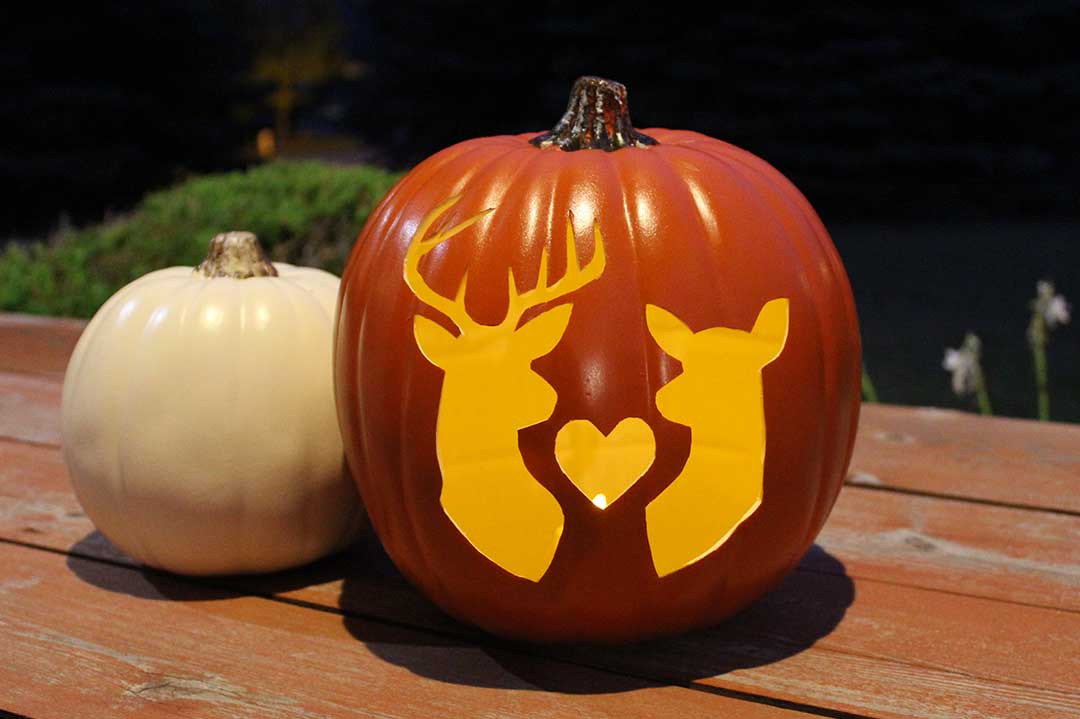
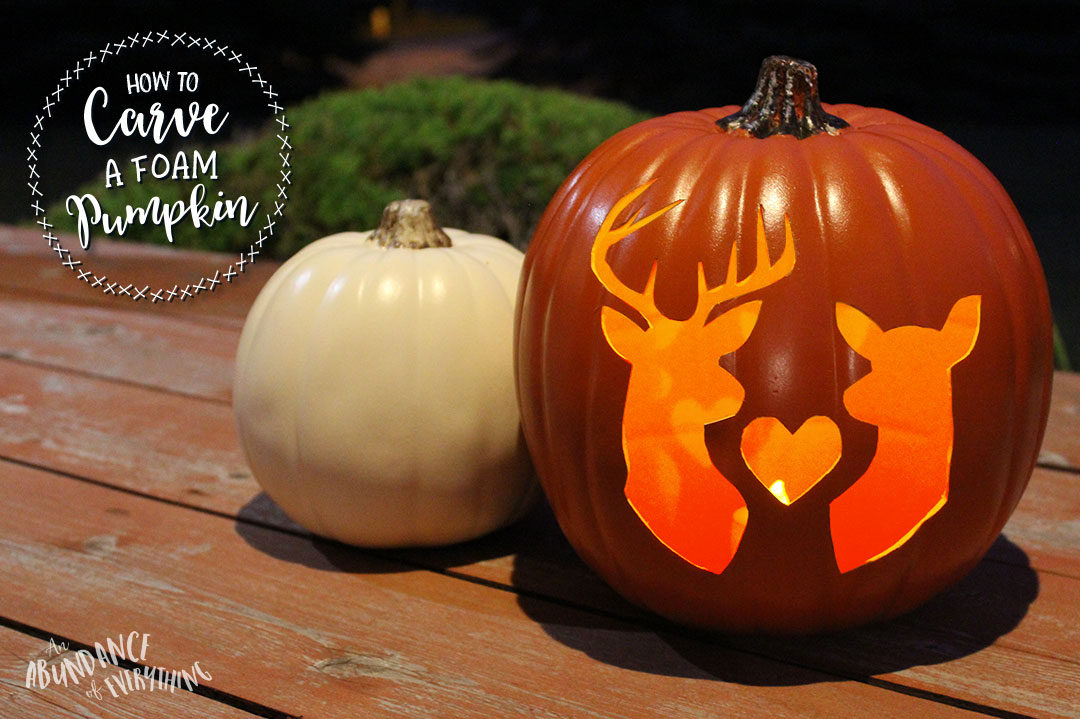
Here’s the Finished Look of My Foam Pumpkin!


No Comments