
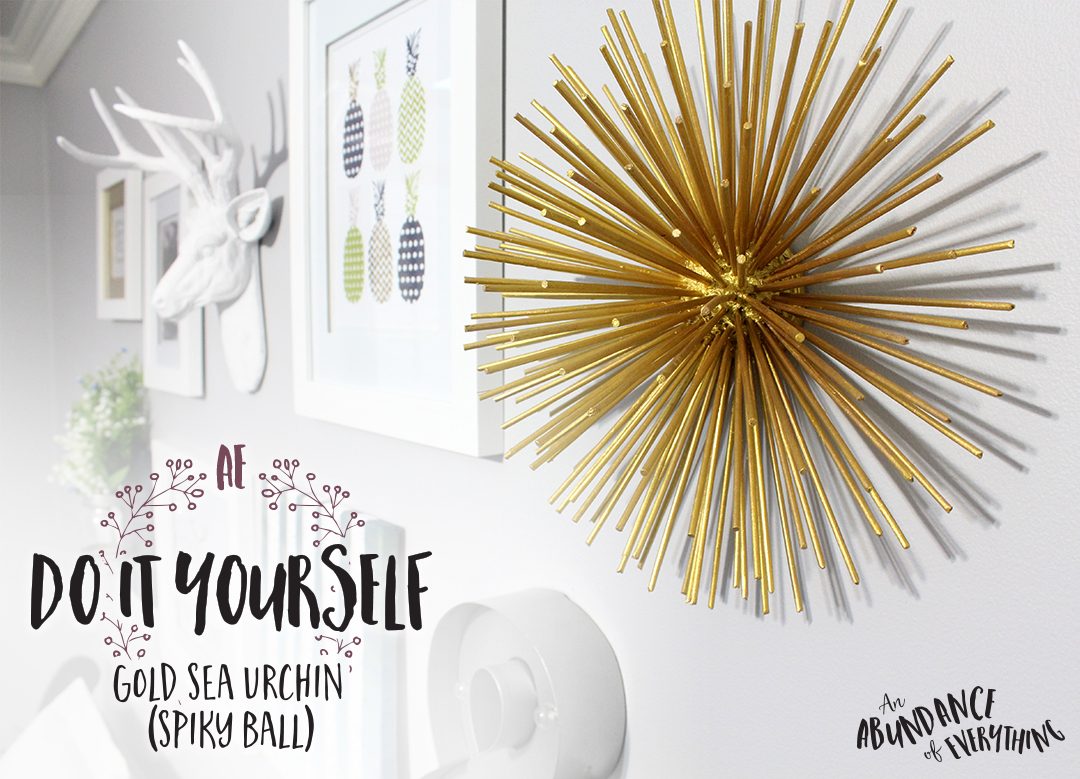
Gold sea urchins (or as I call them “spiky balls”) are a great way to add some dimension to a gallery wall or add drama as a stand-alone piece of décor.
I’ve seen them for sale at a local home décor store but they range in price from $35-$75 depending on the size you’d like. My jaw dropped seeing that price tag! No way I would spend that kind of money, so here is my tutorial for how to create your own gold sea urchin for under $10 a piece!

What you will need:
Wooden skewers
Styrofoam balls
Hot glue
Small piece of wood
Spray paint (that can be used on Styrofoam is preferred)
A pop can tab
A knife
Scissors or wire cutters
A screw
Mod Podge and or paint (Not necessary but useful)
If you’re planning on making more than one, I’d suggest you make them at the same time. You save time, money and supplies!

Step 1: Cut a styrofoam ball in half
We are going to hang the sea urchin on a wall so we will need to cut the styrofoam ball in half. I used a knife to cut it. Select a styrofoam ball that is large enough to stick the skewers into it and will not break apart. Once its cut I would suggest using mod podge on the back of the ball you just cut to prevent it from falling apart as you will be handling it a lot.

Step 2: Cut the skewers to the desired length
The best way to decide how large you want your sea urchin to be is to stick a skewer into the ball and measure it. I recommend sticking a skewer into each side of the ball including the top. This way you can see how far the sea urchin will stick out of the wall and how wide it will be. Once your happy with the size, use a marker to determine the length of each skewer and then cut them accordingly. Make sure you are using something sharp to cut them, you don’t want the wooden sticks to break or fray once they are cut. I used wire cutters.

Step 3: Start sticking your skewers into the base of the foam ball
I would recommend completing a full circle around the ball and then pulling them out to glue them in place. This way you can pre make the hole for each skewer. Add hot glue to the end of the skewer and stick it back in the hole. The reason I suggest making the holes first is because adding the glue to the stick and then trying to poke a hole is quite messy. The glue ends up not going in the hole but around the outside of the skewer (Not to mention that it also makes the foam melt which isn’t good)

Step 4: Keep adding skewers until your happy with your sea urchin
I find that the more skewers you add, the better it looks. Because we are using foam the sea urchin can look cheap. The more skewers you add the less foam you see which makes it look slightly more “high class” (in my opinion).

Step 5: Add a wall mount (piece of wood) to the back of your sea urchin
To strengthen your sea urchin, add a wooden base to the back of it. You will definitely need to do this step if you want to hang it on a wall. Your foam ball will be full of skewers by now so there would be no place for you to add a pop can tab on the back (let alone screw into the foam to add one…). I cut my wood into a circle so it would be less noticeable, but you could always leave them as squares if that’s easier. (Ignore the hole on the back of my sea urchin; I just used scrap wood that had holes in it). To secure the wood to your sea urchin, use hot glue.

Step 6: Paint it!
Paint your sea urchin with spray paint that is OK for foam. I used a spray paint that wasn’t okay for foam and as you can see it slightly melted the foam. Not a huge deal but now can you see parts of the hot glue that wasn’t visible before.

Step 7: Apply any touch ups with paint and then clear coat the whole thing
I wasn’t very happy with the colour of gold spray paint I used so I decided to touch up the gold with my own pure yellow gold paint. It made the sea urchin a little bit more elegant! The best gold paint is pure pigment gold powder mixed with mod podge. If you decide your not going to use spray paint and only use paint to paint your sea urchin, I still highly recommend using spray paint as a base first. It can be very difficult to cover all areas of the sea urchin when it’s been put together. Still don’t want to spray paint? Paint the items before you put it together and then make any touch ups you might have later!
Last painting step, cover the whole thing in mod podge! (Glossy or matte, your choice)

Step 8: Add the wall hanger
The cheapest wall hanger is a pop can tab. Reduce, reuse, recycle! Don’t worry about it looking cheap; you can’t see the pop tab once it’s hanging on the wall. I secured the pop tab into the wood with a screw.
Last Step – Display your art! Hang it with a gallery wall, on it’s own or even on a shelf.
Interested in other gallery wall ideas? Click here to see my gallery wall.


2 Comments
[…] 1 | 2 | 3 […]
Beautiful work!! Im trying!! Lol.